📡 Virridy Lume · dMRV Program

Digital MRV Installation &
Field Operations Guide

Step-by-step instructions for deploying the Lume sensor for digital Monitoring, Reporting & Verification of drinking water quality in carbon-financed programs.

🇷🇼 Rwanda
Amazi Meza Program
Testing in LifeStraw community filters
🇰🇪 Northern Kenya
DRIP FUNDI Program
Testing for groundwater community water systems

Technical and Lab Support

📣
For DMRV demonstrations taking place during the Gold Standard Audit — please notify Whitney in advance so she can be on standby for real-time support during your session.
Whitney Knopp in the field

Whitney Knopp

Reach out for device issues, dashboard access, dMRV demonstration support, or any field questions

💬 Available on Slack

Before You Deploy

Complete these steps before arriving at the field site. Allow time for overnight charging.

1

Charge the Device

⚠️
dMRV firmware draws significant power. Always charge overnight before a deployment day. Plug into a wall outlet — not a laptop USB port.
  • Connect the USB-C cable to the sensor and a wall outlet
  • Charge for a minimum of 6 hours — overnight is strongly recommended
  • Full charge voltage: ~4.2 V (visible on dashboard after first connection)
  • If running multi-day demonstrations, recharge between each day
2

Attach the Antenna

ℹ️
For dMRV use the wired antenna. This allows the entire sensor body to be submerged while the antenna remains above water for cellular transmission.
  • Use the wired external antenna (not the short built-in stub)
  • Connect the antenna cable to the port on the sensor housing
  • The antenna receiver end must remain outside of the water at all times
  • Route the cable so it won't pull the sensor out of position
Wired antenna attached to sensor

Figure I. Antenna (wired, recommended) attached to sensor

3

Power the Sensor On

🚫
Do not open the sensor cap once the unit is powered on. The UV LEDs can cause eye injury. Never remove the cap near the optical window while the unit is operating.
  • First, unplug the USB-C charging cable completely
  • To power off: press and hold the power button for ~10 seconds, then wait 30 seconds before restarting
  • To power on: with antenna attached, press and hold the power button for ~2 seconds
  • Confirm the LED indicator turns on — the sensor is now active
  • Do not open the sensor cap after powering on
Sensor powered OFF

Figure II. Sensor powered OFF — hold button 10 seconds

Sensor powered ON with LED on

Figure III. Sensor powered ON (with LED on)

Installing the Device for dMRV Sampling

Proper installation ensures clean optical readings. Bubbles on the lens are the most common cause of bad data.

4

Prepare the Water Container

  • The sensor must be fully submerged in water during sampling
  • For field demonstrations, use approximately 5 litres of water in a bucket
  • For permanent installation, mount directly in the filtered water storage container or outlet point
  • Start with the cleanest water sample first to minimise cross-contamination between samples
5

Submerge and Position the Sensor

⚠️
Install at a 45-degree angle or horizontally. Vertical installation traps bubbles on the optical window, causing false high readings.
  • Lower the sensor into the water at 45° or horizontally to prevent bubble formation on the lenses
  • Gently shake the sensor after submerging to release any trapped bubbles
  • Ensure the optical window is submerged at least 15 cm below the surface
  • Once fully submerged, the sensor can rest in any orientation (on its side or upright)
  • Keep the wired antenna cable routed so the receiver remains above water
Sensor installed in bucket at 45 degree angle with wired antenna

Figure IV. Installation in bucket at 45-degree angle, with wired antenna attached

dMRV Sampling Procedure

Follow this protocol for every sampling event. Paired Lume + CBT measurements are required for model calibration and carbon credit verification.

A

Sequence: Start with the Cleanest Sample

Always begin with the treated/filtered water before testing raw or contaminated samples. This prevents cross-contamination from carrying over into cleaner samples.

B

Install Sensor & Allow Equilibration

  • Submerge the fully charged, powered-on sensor at 45° in the water sample
  • Leave the sensor installed for 15–20 minutes to sample and transmit data
  • The dMRV firmware samples every 6 minutes — you need at least 2–3 readings per sample
C

Take a Paired Compartment Bag Test (CBT)

Record the exact time of the CBT collection. This timestamp is needed to match the CBT concentration result (after incubation) to the corresponding Lume sensor reading.
  • Collect the CBT water sample at the same point and time as the Lume measurement
  • Write down: date, time, site name, sample type (raw / filtered / stored)
  • Incubate the CBT per standard protocol and record the MPN result
  • Upload CBT results to the Virridy dashboard or data sheet for pairing with sensor readings
D

Verify Transmission on Dashboard

  • Open thelume.ai/dashboard during or after sampling
  • New readings will be updated every 20–30 minutes
  • Check: TLF (ppb), E. coli risk %, temperature, turbidity, battery voltage
  • If no data appears, see troubleshooting section below
E

Repeat for Additional Samples

  • Move to the next sample location, starting again with cleaner water first
  • Rinse the sensor exterior between samples if moving between heavily contaminated and clean water

Dashboard & Data Access

All sensor data is transmitted to the cloud and accessible in real time at thelume.ai/dashboard.

📈
Real-Time Readings

Live TLF (ppb), E. coli risk %, temperature, turbidity, and battery voltage

🗺️
Multi-Sensor Map

Track all deployed sensors across sites on an interactive map

📊
Historical Charts

Interactive time-series visualization with configurable date ranges

📥
CSV / XLSX Export

Download raw data for offline analysis or audit submission

🔌
API Access

Programmatic access for automated reporting and system integration

🔐
Role-Based Access

Separate portals for field teams, project developers, auditors, and verifiers

🚨
Automated Alerts

Low battery, connectivity loss, and anomalous reading notifications

🖥️
Desktop App

Windows & macOS app for USB connection, offline review, and on-device calibration

🔒
Data Security: All sensor-to-cloud transmission is encrypted via SSL/TLS. Raw data is stored immutably with automated backups. No personally identifiable information is collected.

Maintenance & QA/QC

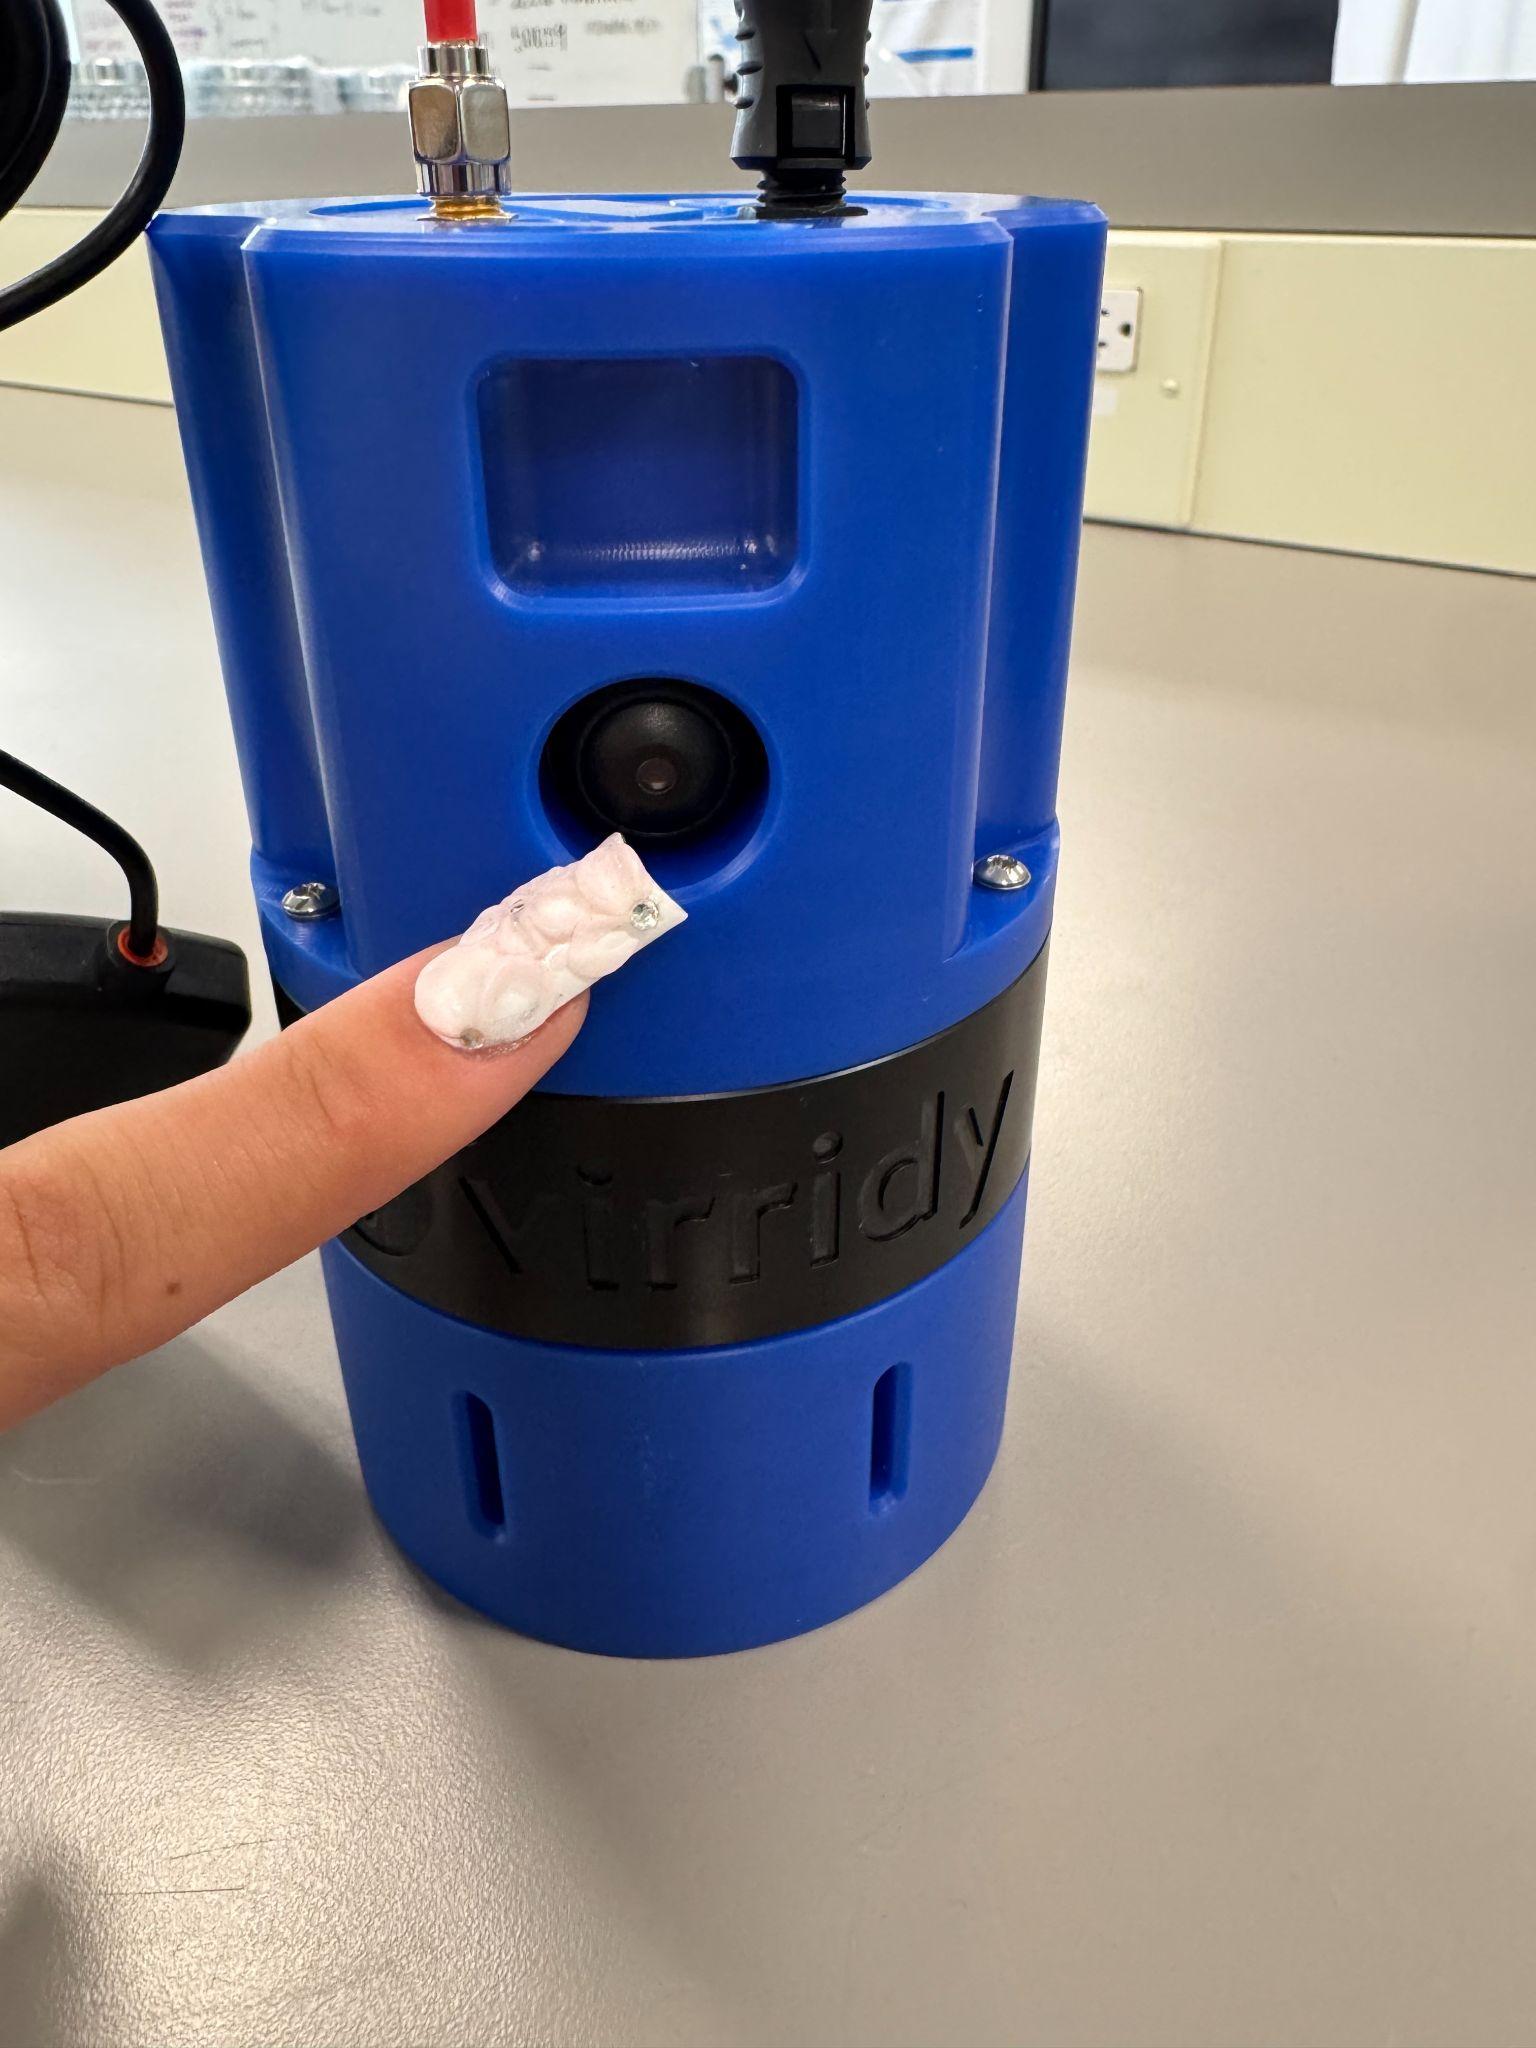
The Lume requires no reagents or calibration. Biofouling of the optical window is the most common cause of anomalous readings.

ℹ️
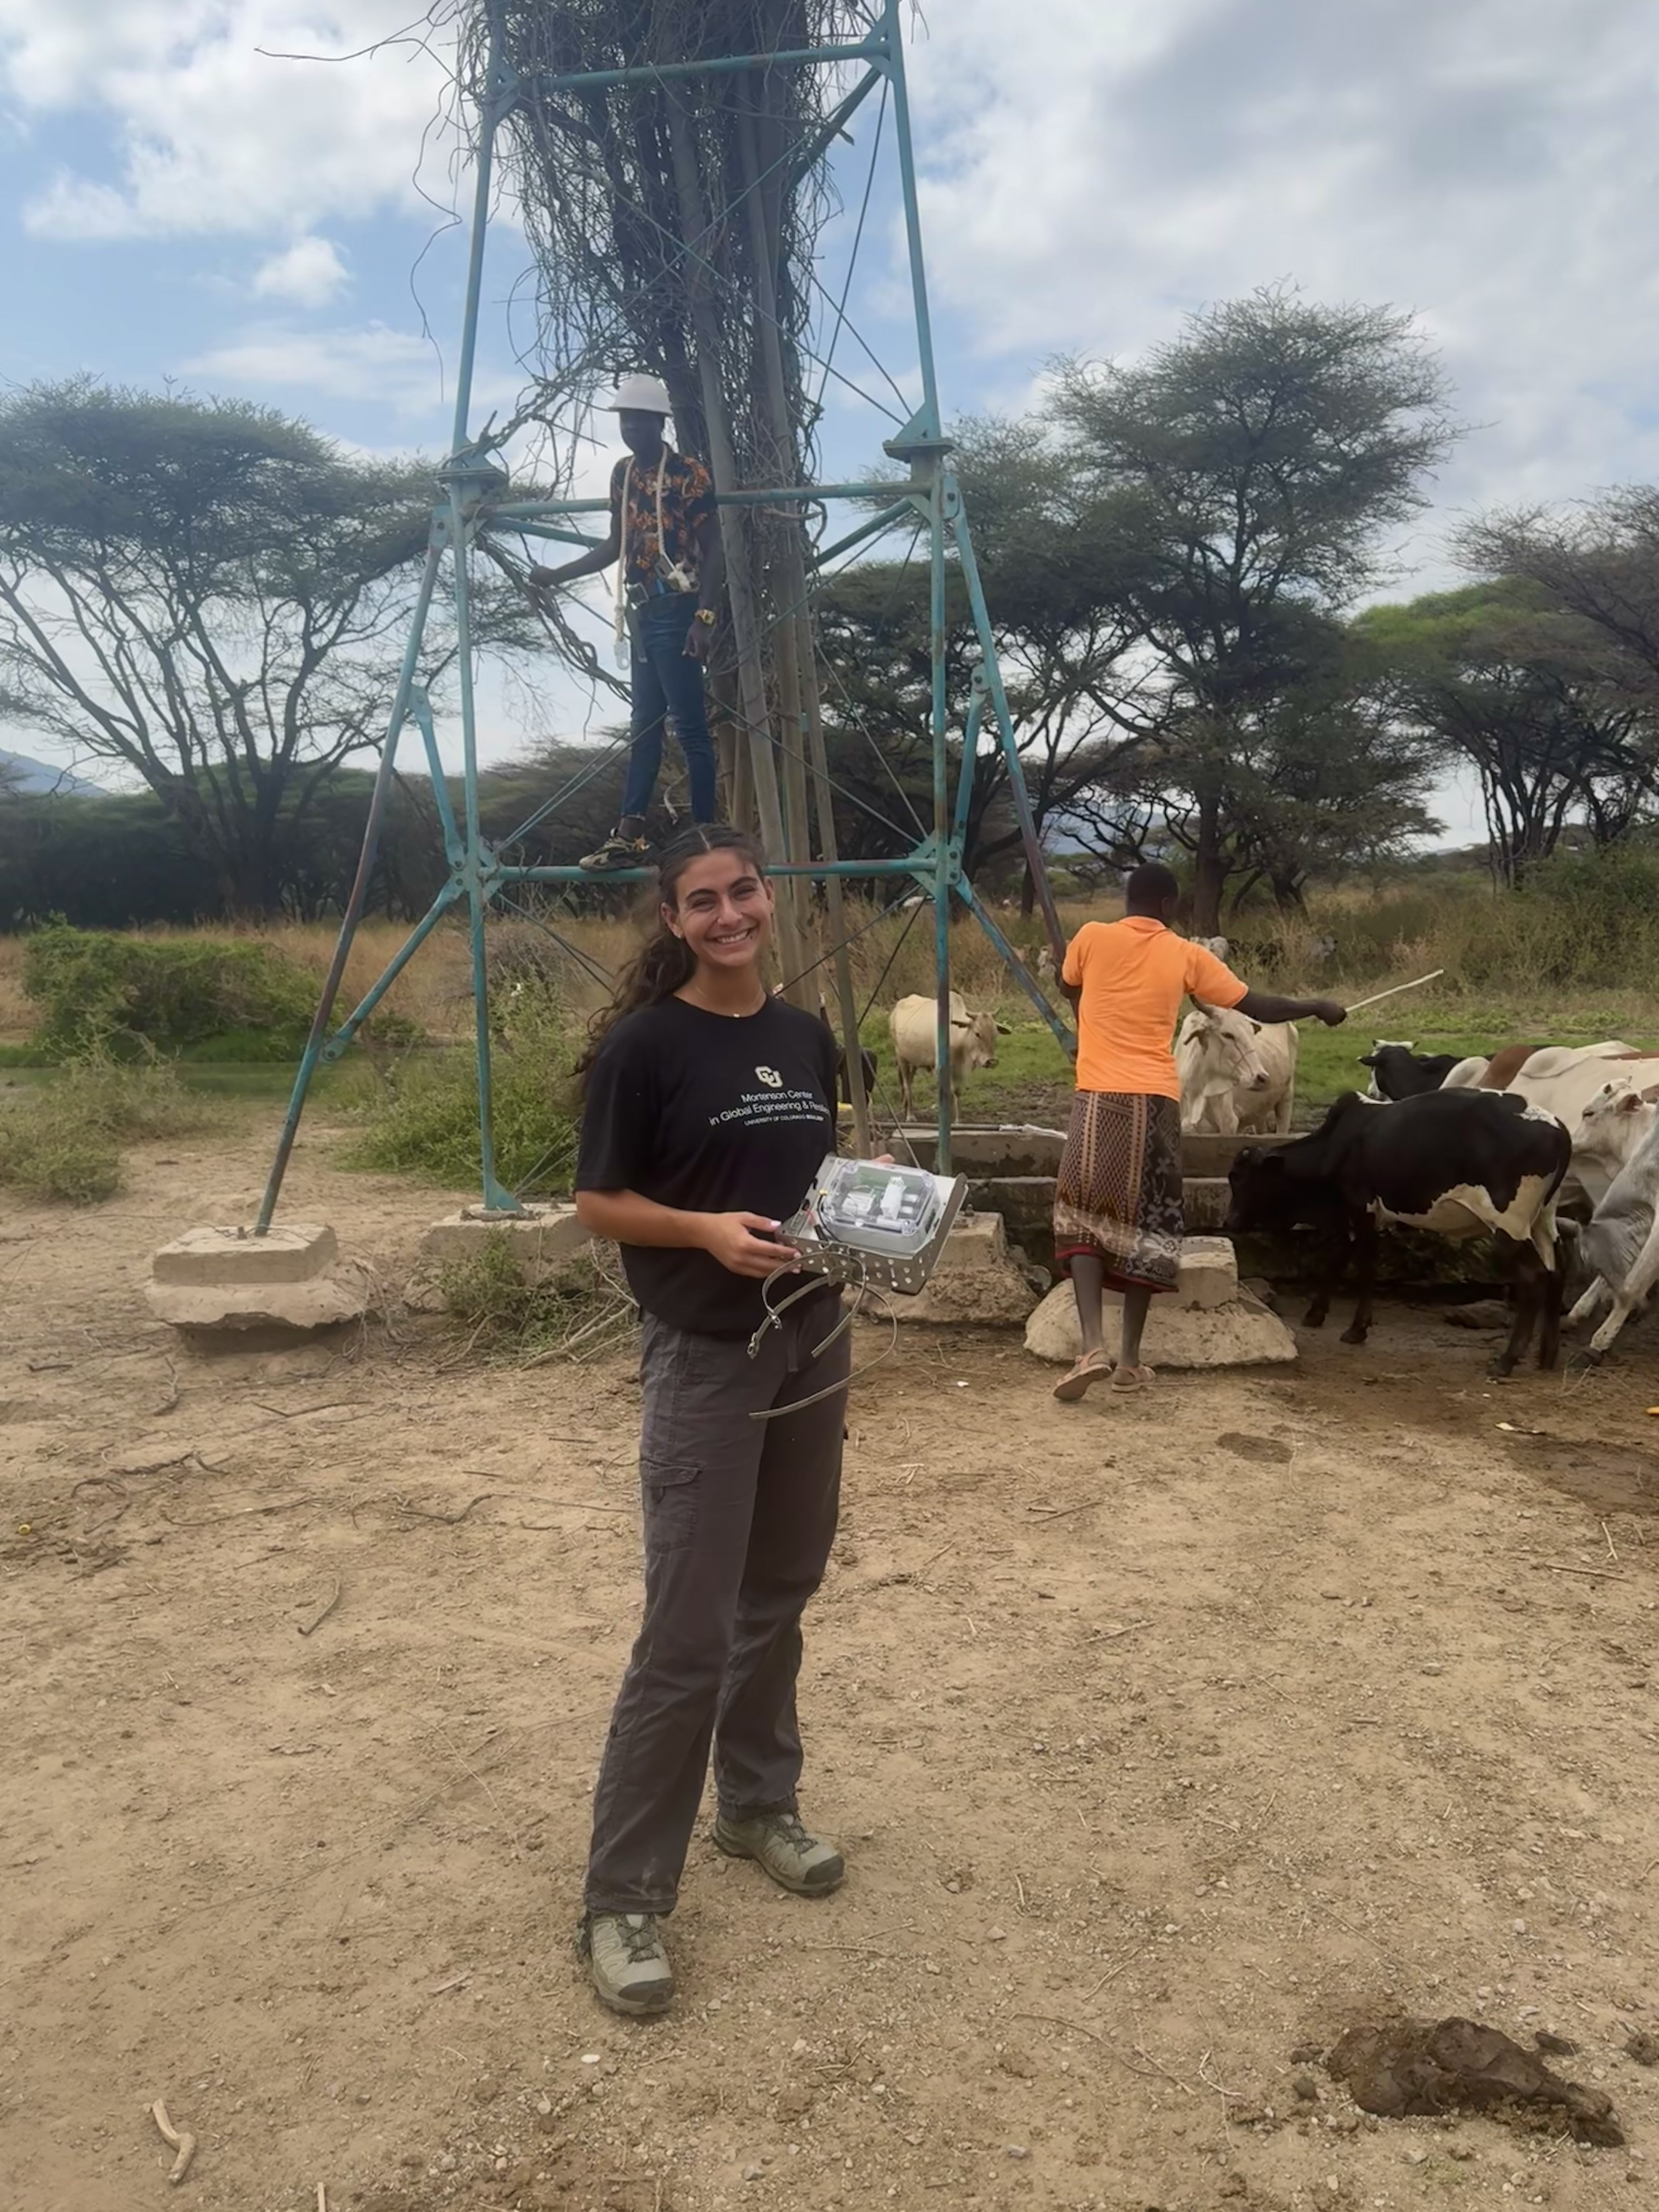
dMRV Pilot Note: No routine maintenance of the sensor is expected to be required during the dMRV pilot. However, before each demonstration, inspect the optical lenses to confirm they are clean and free of scratches.

🧽 Window Cleaning Procedure
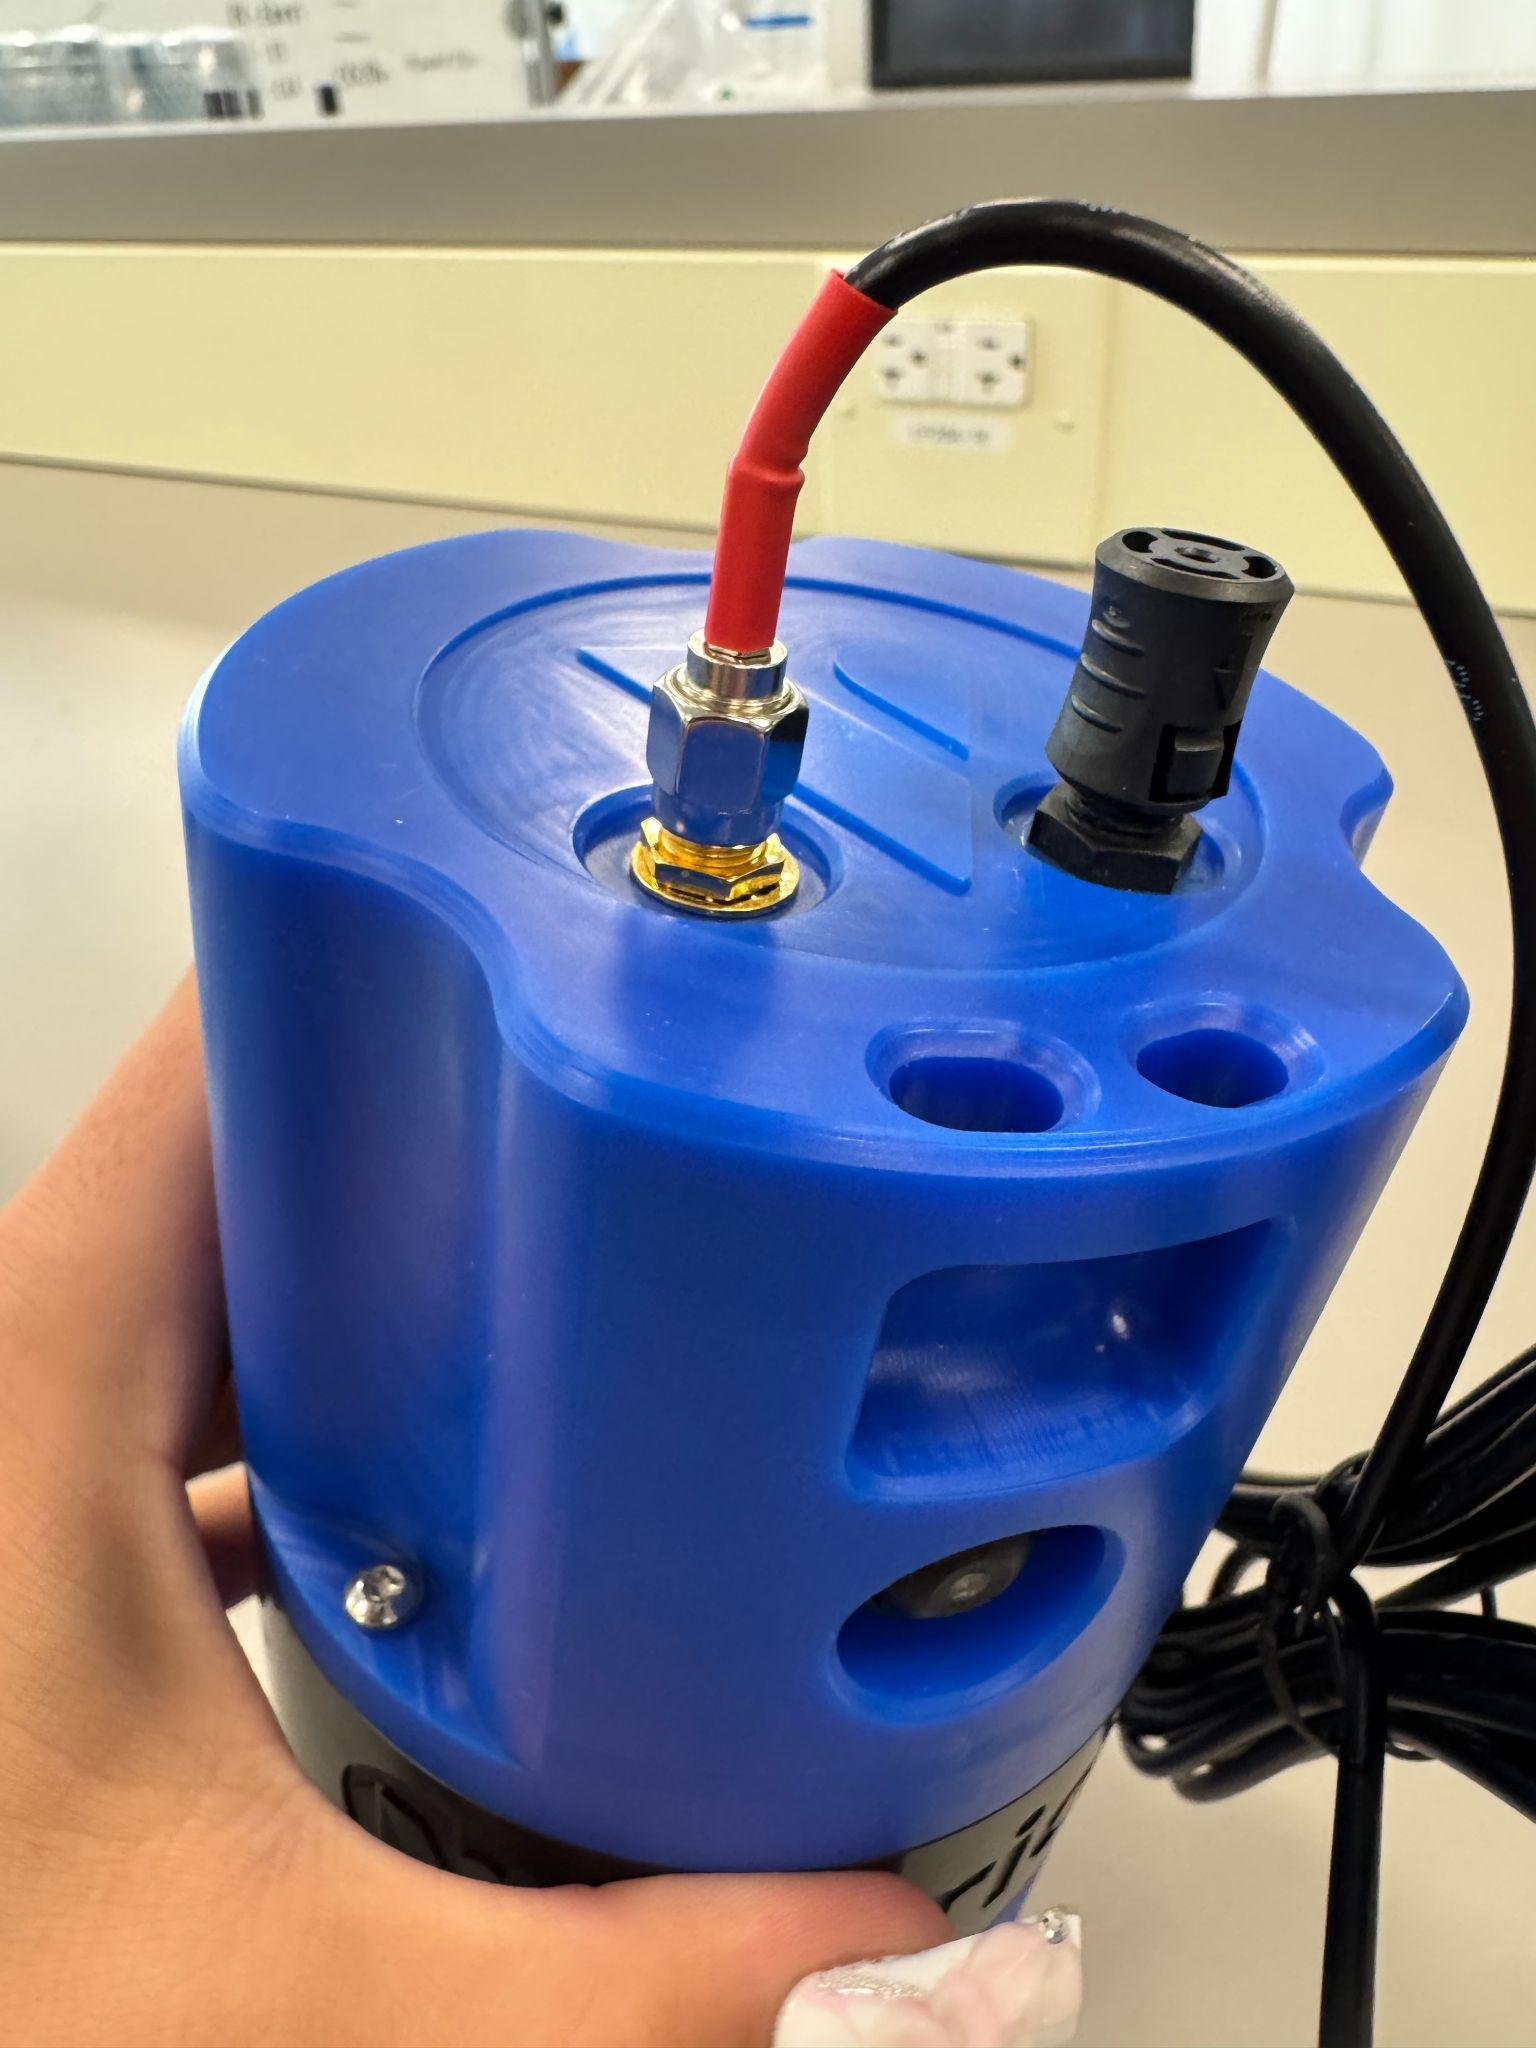
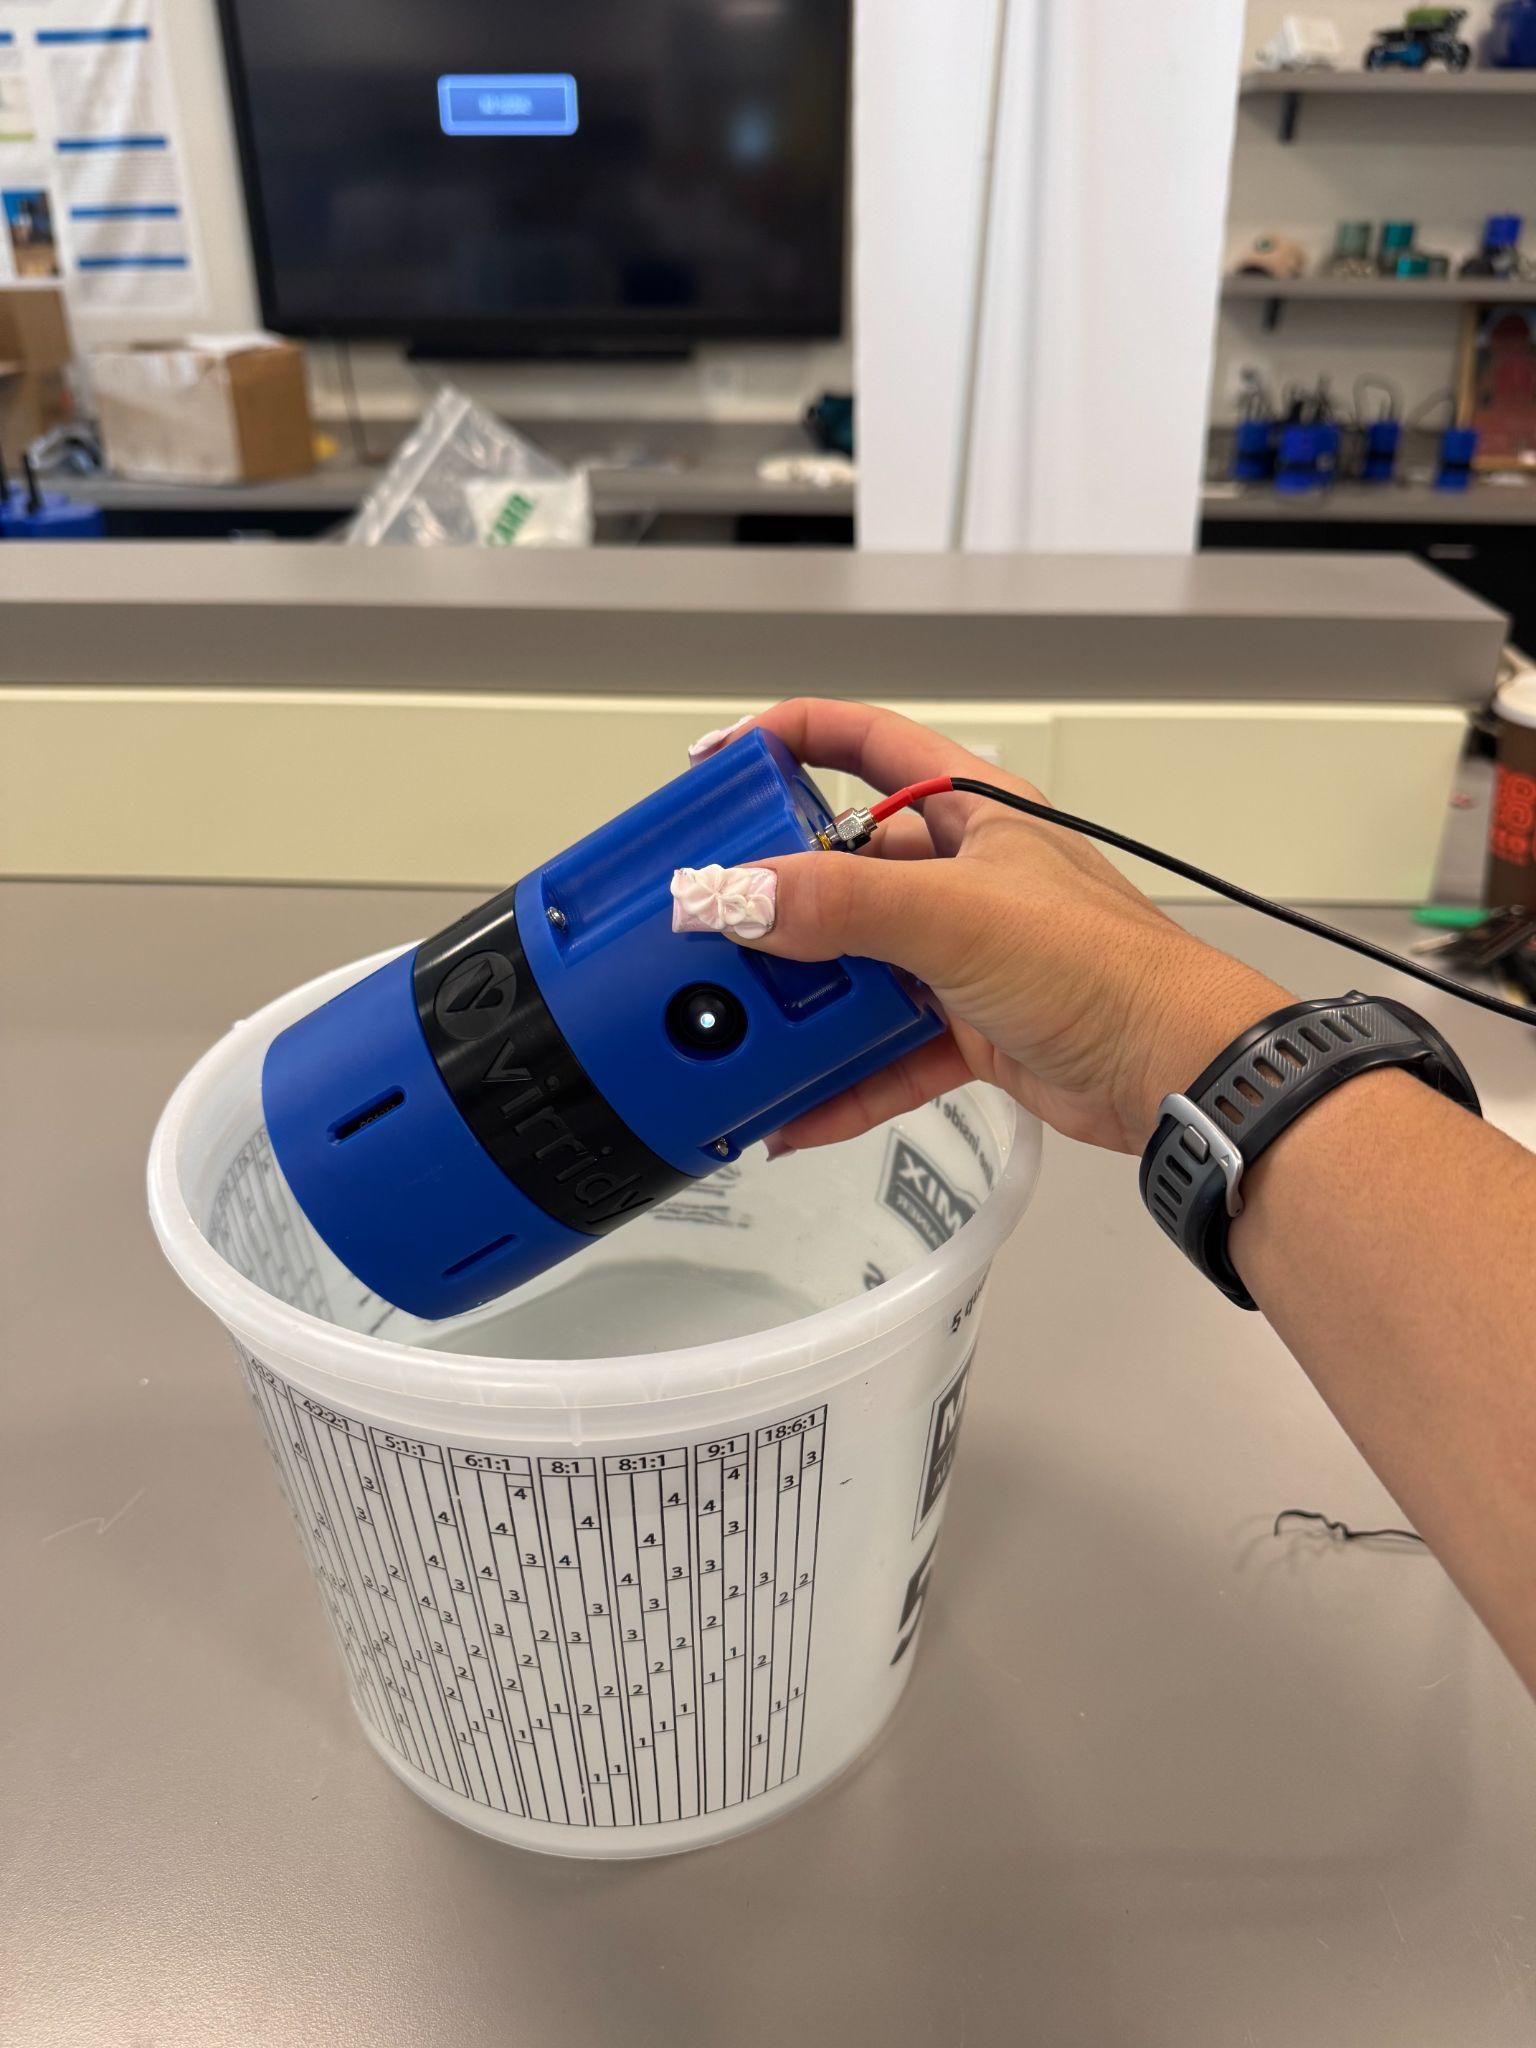
  • Power off the sensor before removing the cover
  • Remove the sensor from the water
  • Twist off the sensor cover counterclockwise
  • Wipe the optical window gently with a lint-free cloth
  • Do not use abrasive materials — scratching the window degrades performance
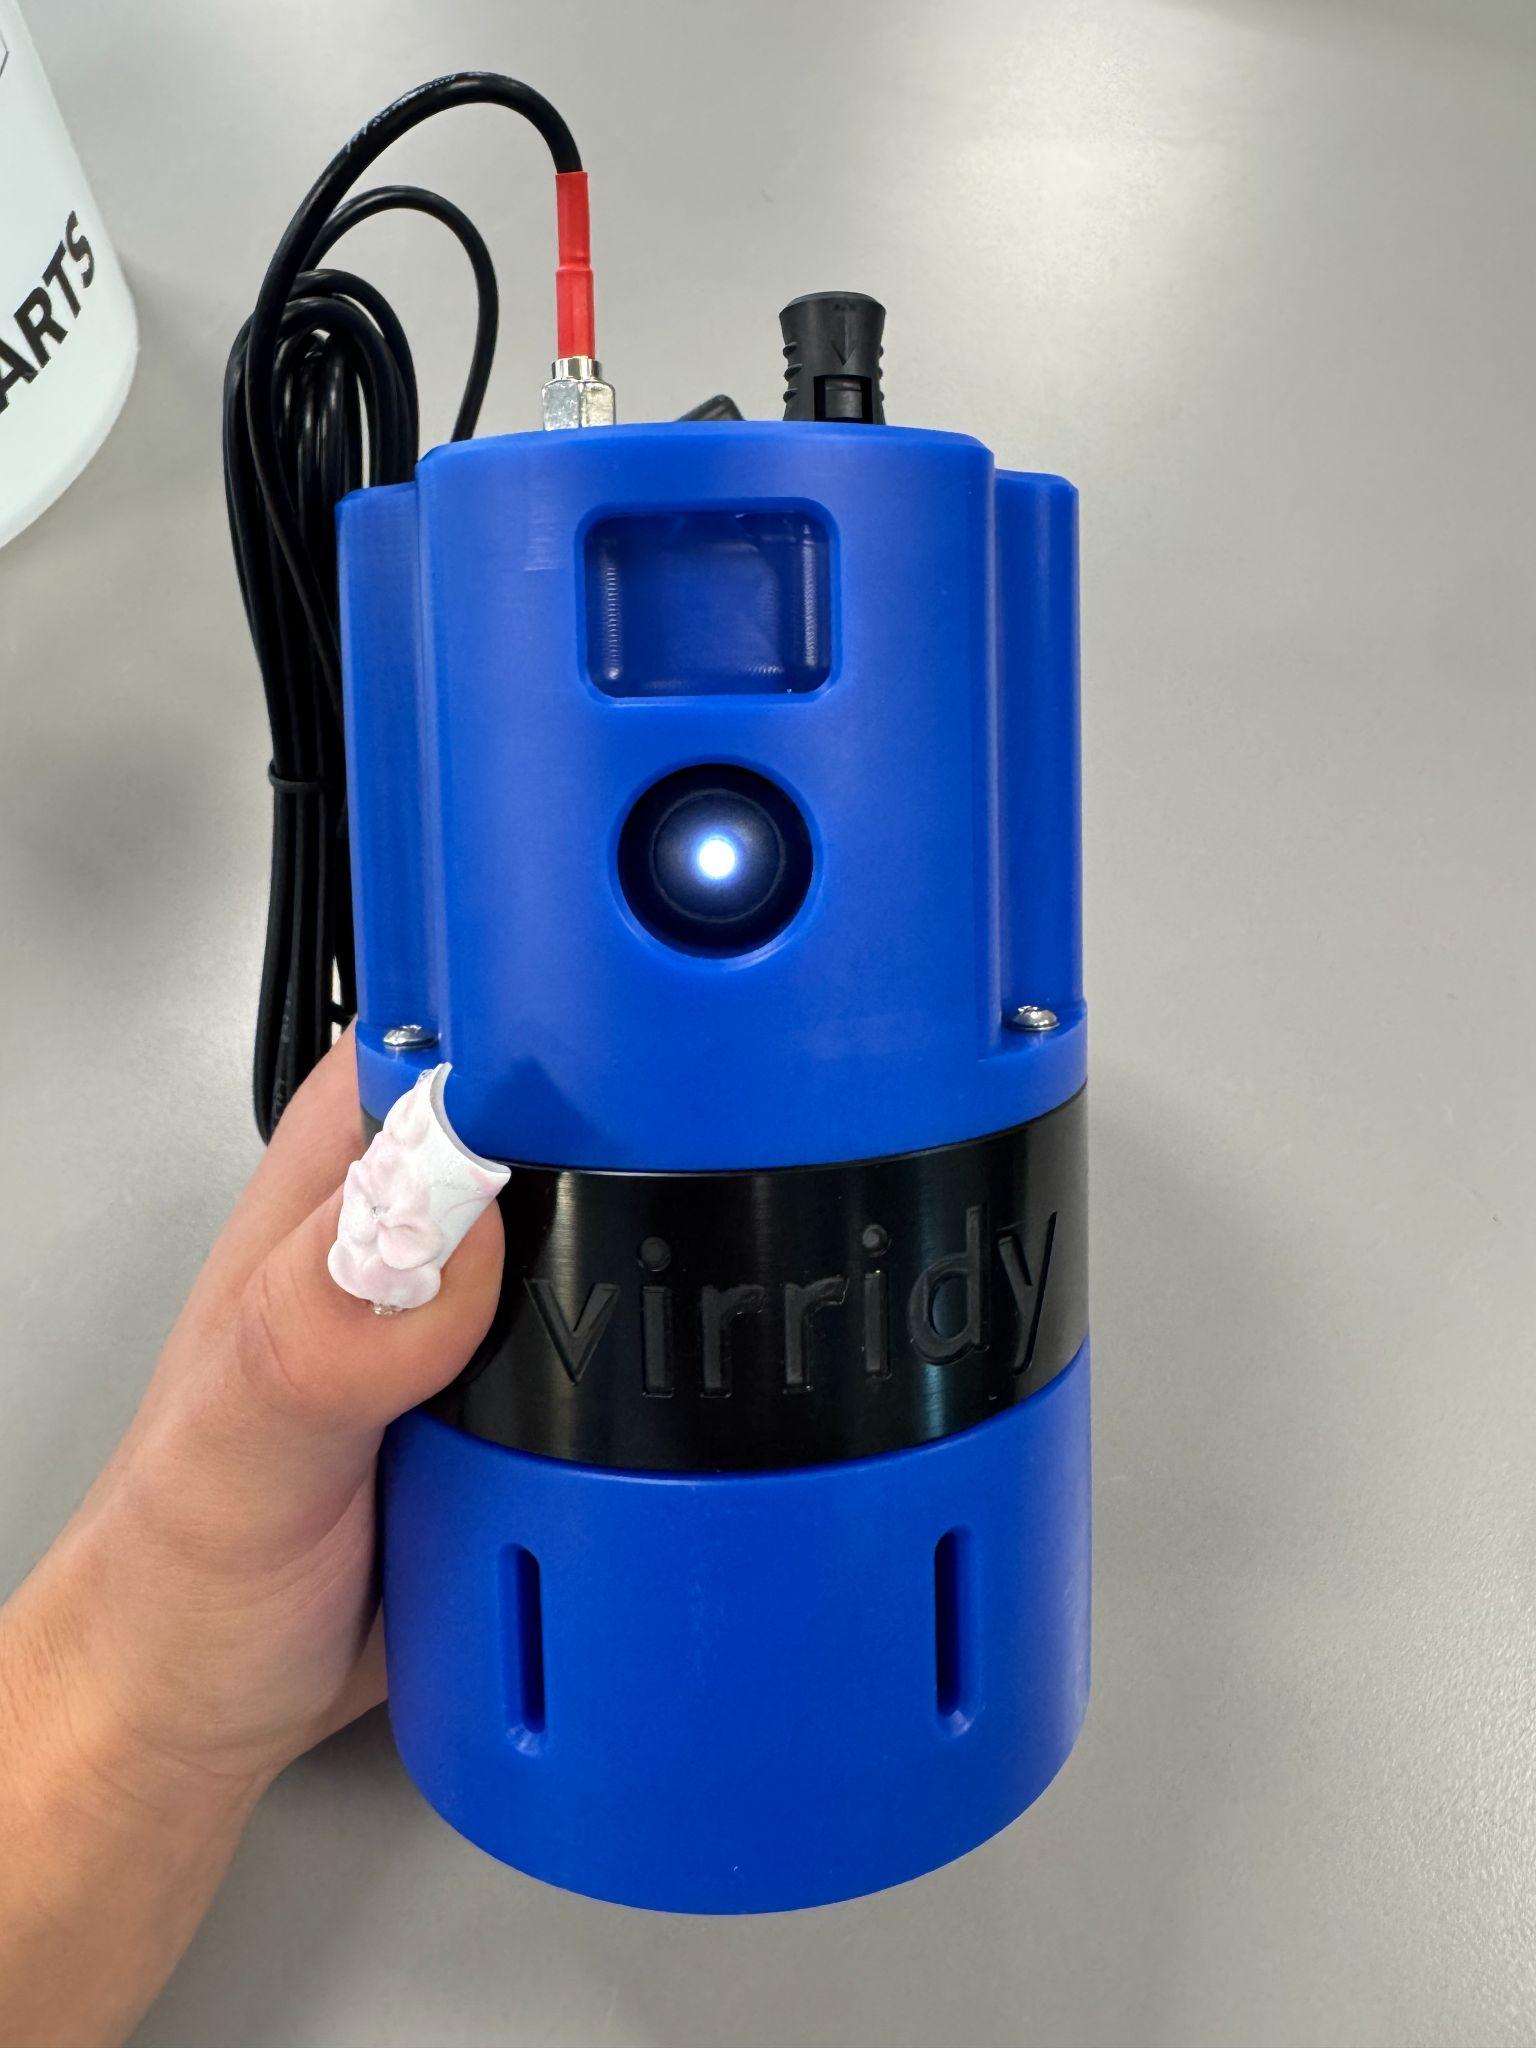
  • Replace cover and verify seal before redeployment

✅ Field QA/QC Checklist

  • Match Lume readings against CBT results — consistent agreement indicates valid data
  • Confirm battery is adequately charged before each sampling session
  • Leave the sensor submerged for 15–18 minutes to allow readings to stabilise
  • Allow at least 15 minutes between different sampling conditions before taking the next reading

Troubleshooting

Most issues in the field have a simple fix. Work through this table before contacting support.

IssueLikely CauseFix
No data on dashboard Low battery or no cellular signal Check voltage in dashboard; move to area with better coverage; verify antenna is connected
Readings appear 15–20 min after deployment Normal — dMRV samples every 6 min, reports every 18 min Wait at least 20 minutes. This is expected firmware behaviour.
High or erratic TLF readings Biofouling or bubbles on optical window Remove sensor, clean window with lint-free cloth; re-submerge at 45° to release bubbles
Temperature reads ambient air temp Sensor not fully submerged Ensure the entire sensor body including the window is below water surface
Battery drains within one day dMRV firmware high sampling rate Charge overnight before each day; consider solar attachment for multi-day permanent deployments
Sensor won't power on Fully discharged or startup sequence error Charge for 6+ hours; if recently powered off, wait 30 seconds before powering on again
CBT results don't match Lume readings Timestamp mismatch between CBT and sensor reading Record the exact time of CBT collection; match to the closest Lume timestamp in the dashboard export
Data gap in dashboard Connectivity interruption Data is buffered on-device and will upload automatically when connection is restored; gaps are documented for auditors
🚫
Safety reminders: Never open the sensor cap while the device is powered on — the UV LEDs can cause eye injury. Do not expose the lithium battery to temperatures above 60°C. Follow all local water safety protocols and use the buddy system when sampling in the field.

Sensor Specifications

The Virridy Lume V1.2 is an autonomous water quality sensor measuring microbial and optical parameters without calibration or consumables.

ParameterSpecification
SensorsFluorimetric (SiPM detector), Turbidity (ToF/SPAD), Temperature, GPS
Battery LifeUp to 1 year at default settings (hourly sampling, 24-hour reporting)
ChargingUSB-C (minimum 6 hours; overnight recommended)
ConnectivityCellular (primary) or Satellite
HousingIP-rated waterproof enclosure
Sampling Interval30 seconds to 24 hours (configurable); dMRV default: every 6 minutes
Reporting IntervaldMRV default: every 18 minutes
Detection Limit0.05 ppb tryptophan (TLF mode)
Result Time~60 seconds per reading
Precision14% RPD vs. ≥26% for culture methods
Power: Full Charge~4.2 V
Power: Low WarningBelow 3.7 V
Power: CriticalBelow 3.0 V — recharge immediately